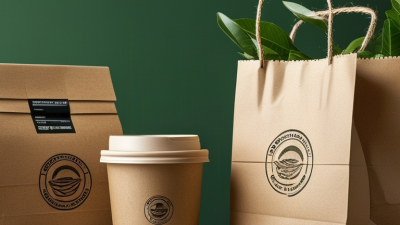
How to Order Custom Shopping Bags With Logo?
Ordering custom shopping bags with logo is not just a print decision. It is a practical choice about how your brand appears at checkout, on the street, and in a customer’s home. A sturdy kraft bag can suit a small boutique; a reusable nonwoven bag may work better for repeated errands. The right option depends on product weight, order quantity, budget, and how customers will use the bag.
The market context is significant. Smithers’ report, The Future of Global Packaging to 2028, forecast that the global packaging market would reach $1.3 trillion by 2028. That broad figure does not measure shopping bags alone, but it shows why packaging decisions deserve careful attention. Brand strategist Marty Neumeier offers a useful principle: “A brand is not what you say it is. It’s what they say it is.” This is a branding insight, not a bag-manufacturing specification; a verified quote from a custom-bag industry specialist was not available for this introduction.
A successful order starts with details you can check: bag dimensions, material, handle strength, print colors, artwork quality, and a preproduction sample. Ask the supplier to confirm these in writing. Small choices matter. A logo that looks crisp on screen may lose detail when printed, while an oversized bag can waste material and raise shipping costs. This guide explains how to compare options, prepare artwork, review samples, and confirm production timelines—so your custom shopping bags with logo fit both your brand and your real-world needs.
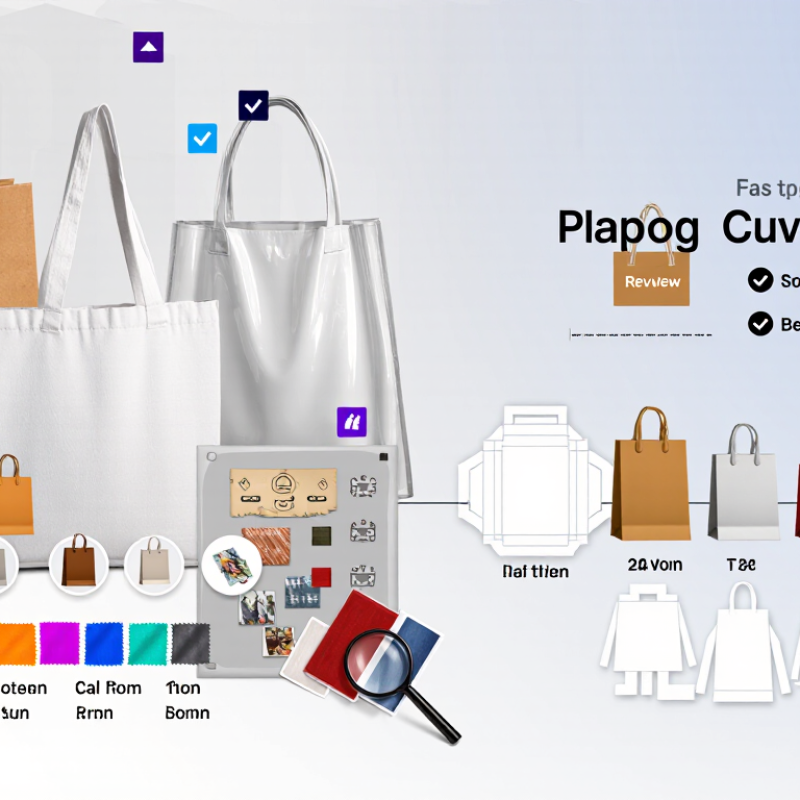
Define Your Custom Shopping Bag Requirements
Before requesting a quote, define what the bag must carry and where customers will use it. A bag for folded clothing needs different proportions from one holding takeaway containers or a stack of books. Measure the largest items, then allow room for tissue or protective packaging. A quick paper mock-up can reveal awkward dimensions. It is a small step, but useful.
Choose the material, size, and handle with the expected load in mind. Paper, cotton, and reusable synthetic fabrics each feel different and suit different uses. Specify the approximate weight of the products, how long customers may carry them, and whether the bag needs to stand upright. Handles can look sturdy in a drawing and still feel uncomfortable when loaded. That detail is easy to miss.
For the logo, provide a clean, high-resolution file and note its preferred size and position. A logo centered on a flat panel may shift visually when the bag is folded or gusseted. Ask for a digital proof, and check colors, spelling, and margins before approval. If the design uses fine lines, request guidance on print limitations. More detail is not always better; I have seen crowded artwork lose clarity at a distance. Share your order quantity, target budget, and needed delivery date too, so the supplier can flag practical trade-offs before production.
Choose a Bag Style, Material, and Size
Choose a bag style based on what customers will carry and how they will use it. A flat paper bag works well for lightweight items and quick counter handoffs. A gusseted style gives boxed products more room and helps the bag stand upright. For repeat use, consider cotton or nonwoven fabric, and check handle stitching as well as material weight. Small detail, big difference.
Measure the product before choosing a size. Include its width, height, and depth, then allow a little extra room so items slide in easily. A bag that is too large may look awkward and use more material than needed. Not always obvious. Also check how the handles sit when the bag is full; short handles can make a larger bag uncomfortable to carry. Requesting a sample is useful, though it can add time to the order. Place the logo where folds, seams, and gussets will not distort it. A simple mock-up at the intended print size can reveal spacing issues before production. I would still recheck the measurements against the actual product, because a tidy screen preview can be misleading.
Prepare Your Logo Artwork for Printing
Prepare the logo as a print-ready file, not just a screenshot from a design app. Vector artwork, such as an AI, EPS, or print-ready PDF, stays sharp when resized. If you use a raster image, aim for 300 ppi at the final printed size. Smithers’ report The Future of Digital Print for Packaging to 2028 estimated the market at $22.5 billion in 2023 and projected $36.9 billion by 2028. As print options expand, clear files help printers reproduce small details consistently. Still, the printer’s own specifications take priority.
Ask for the bag’s dieline before placing your logo. Keep text and key artwork inside the safe area, and extend background colors into the required bleed. Convert colors to the printer’s requested CMYK or spot-color setup; a screen preview cannot reliably show how ink will look on kraft paper or fabric. Small details matter. Check that thin lines remain visible, letters are readable at actual size, and fonts are embedded or outlined. A useful check—and one teams sometimes skip—is viewing a physical proof under ordinary indoor light. The color may feel different. Confirm the artwork’s dimensions, placement, and substrate with the supplier before approving production.
Prepare Your Logo Artwork for Printing
For a sharp print, 300 pixels per inch is a common resolution target. At that resolution, a 3-inch-wide logo needs 900 pixels of artwork width. Ask your printer to confirm its file and resolution requirements before ordering.
Review Pricing, Printing Options, and Proofs
When requesting custom shopping bags with a logo, compare the full cost, not just the unit price. Ask suppliers to itemize bag material, size, handle type, print coverage, setup fees, and shipping. A heavier bag may cost more but feel sturdier in the hand. A common ordering mistake is choosing a low quote before checking what it excludes. The Advertising Specialty Institute’s 2023 Ad Impressions Study estimates that a promotional bag generates 1,940 lifetime impressions on average. Treat that figure as a benchmark, not a guarantee; actual visibility depends on reuse and audience.
Printing options affect both appearance and budget. One-color printing can suit a simple logo, while multiple colors or full coverage may raise setup and production costs. Ask how the artwork will look on the chosen material, especially kraft paper or textured fabric. Request a digital proof showing placement, size, and colors, then check spelling and proportions carefully. A proof is not a sample of the finished bag, so ask whether a physical sample is available for larger orders. Screen displays can also show colors differently. That detail is easy to overlook.
Tips: Confirm the final quantity, delivery date, and any color-matching limits in writing. If the logo looks cramped on screen, it may look worse on a small bag.
Place Your Order and Check the Finished Bags
Place your order only after confirming the bag size, material, handle style, print colors, and delivery date. Send a high-resolution logo file and request a digital proof showing its exact placement. Check spelling, proportions, and color contrast at actual print size; a logo that looks sharp on screen may lose fine detail on textured paper. Confirm the approved sample, quantity, and any setup charges in writing before production. Small details matter.
Tips: Ask for a pre-production sample when timing and budget allow. Compare it with your proof, especially the handle attachment, seams, and print alignment. A rushed check is easy to regret.
When the finished bags arrive, inspect several from different cartons—not just the top one. Look for uneven color, misaligned logos, weak seams, and scuffed surfaces. Count the shipment and compare it with the order before signing off. The U.S. EPA reported that containers and packaging generated 82.2 million tons of municipal solid waste in 2018, or 28.1% of the total. That broad category includes many packaging types, not just shopping bags, but it underscores why choosing an appropriate material and avoiding unusable misprints deserve attention. If defects appear, photograph them beside the order details and contact the supplier promptly. A useful final check is simple: fill a bag with the weight it is meant to carry.